Difference between revisions of "Allocating Stock"
| (4 intermediate revisions by the same user not shown) | |||
| Line 1: | Line 1: | ||
==Adding Stock== | ==Adding Stock== | ||
| − | + | Initially, you can add stock levels to products by using Stock In transactions. You can have multiple Stock In transactions per product, but the software won't start adjusting stock levels without at least 1 Stock In transaction on a product. | |
| + | |||
| + | In order to add a Stock In transaction to a product you need to do the following: | ||
| + | |||
| + | <center>[[image:ProductStockTransaction2022.png|border|900px|Stock Module]]</center> | ||
| + | |||
*From the main Stock screen, select the product you wish to add stock to. | *From the main Stock screen, select the product you wish to add stock to. | ||
*Once selected, the stock levels grid will appear to the top right of the screen. | *Once selected, the stock levels grid will appear to the top right of the screen. | ||
*Next, double click on the stock level you wish to increase. | *Next, double click on the stock level you wish to increase. | ||
| − | *Choose a Date for your | + | *Choose a Date for your Transaction. |
*Now choose 'Stock In' from the Type drop down. | *Now choose 'Stock In' from the Type drop down. | ||
*You can then enter a Quantity, an alternate Cost Price and a Reference. | *You can then enter a Quantity, an alternate Cost Price and a Reference. | ||
| − | *Click Save in the toolbar, and your | + | *Click Save in the toolbar, and your Stock In transaction will be displayed in the list. |
==Other Stock Transactions== | ==Other Stock Transactions== | ||
| − | ===Transfer In=== | + | ===Transfer In=== |
| + | Transfer In transactions allow you to transfer stock from one branch to another. On a multi branch database, a corresponding Transfer Out transaction must have been created first. When selecting a Transfer In transaction you will be asked to select from all the previously created Transfer Out transactions that have been created for your current branch. | ||
===Transfer Out=== | ===Transfer Out=== | ||
| + | Transfer Out transactions allows you to transfer stock from one branch to another. When creating a Transfer Out transaction, you will be ask which Stock In transaction you wish to transfer stock from, and which Branch you wish to transfer the Stock to. | ||
| + | |||
| + | ===Adjustment=== | ||
| + | An Adjustment transaction allows you to adjust an existing Stock In transaction up or down depending on the scenario. When creating an Adjustment transaction, you will be ask which Stock In transaction you wish to adjust. | ||
| + | |||
| + | ===Return=== | ||
| + | A Return transaction allows you to reduce a Stock In transaction for the specific reason of returning stock to a Supplier. When creating a Return transaction, you will be ask which Stock In transaction you wish to adjust. | ||
| + | |||
| + | ===Write Off=== | ||
| + | A Write Off transaction allows you to reduce a Stock In transaction for the specific reason of writing stock levels off. When creating a write off transaction, you will be ask which Stock In transaction you wish to adjust. | ||
Latest revision as of 14:49, 30 May 2022
Contents
Adding Stock
Initially, you can add stock levels to products by using Stock In transactions. You can have multiple Stock In transactions per product, but the software won't start adjusting stock levels without at least 1 Stock In transaction on a product.
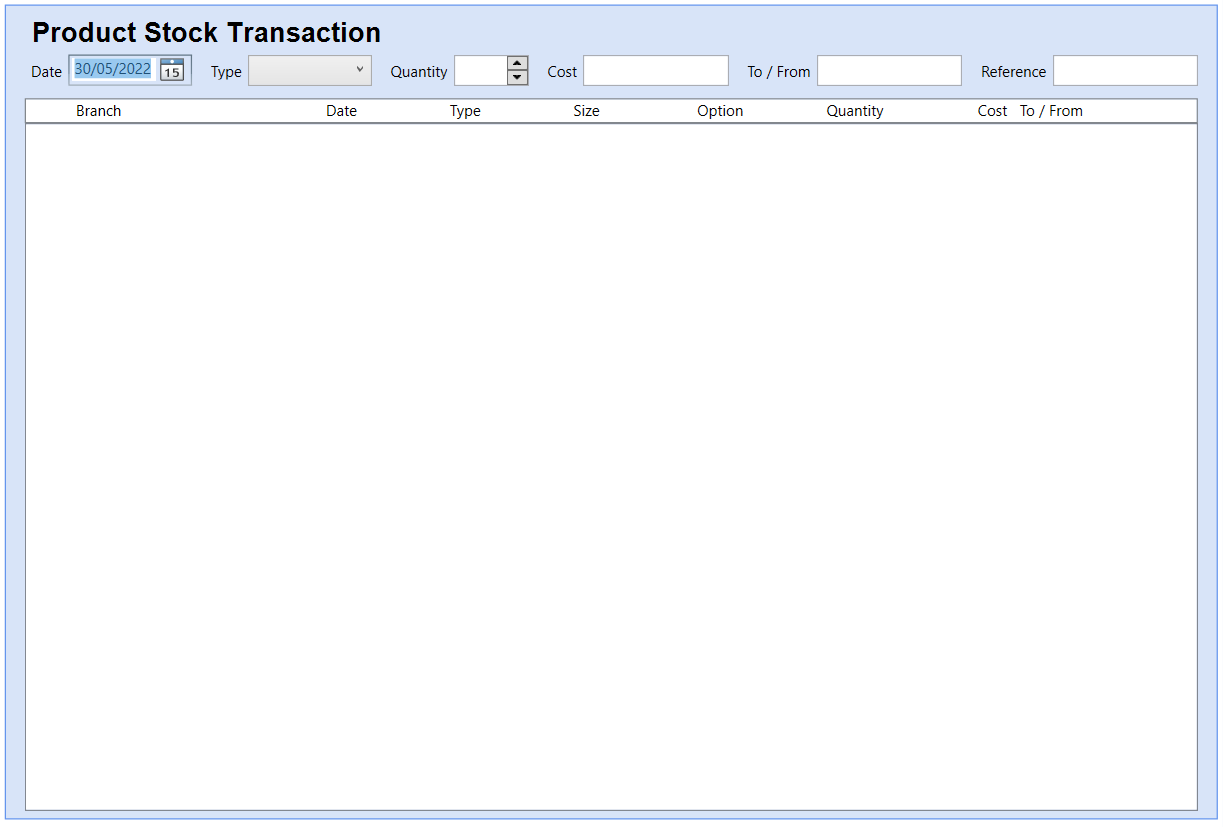
In order to add a Stock In transaction to a product you need to do the following:

- From the main Stock screen, select the product you wish to add stock to.
- Once selected, the stock levels grid will appear to the top right of the screen.
- Next, double click on the stock level you wish to increase.
- Choose a Date for your Transaction.
- Now choose 'Stock In' from the Type drop down.
- You can then enter a Quantity, an alternate Cost Price and a Reference.
- Click Save in the toolbar, and your Stock In transaction will be displayed in the list.
Other Stock Transactions
Transfer In
Transfer In transactions allow you to transfer stock from one branch to another. On a multi branch database, a corresponding Transfer Out transaction must have been created first. When selecting a Transfer In transaction you will be asked to select from all the previously created Transfer Out transactions that have been created for your current branch.
Transfer Out
Transfer Out transactions allows you to transfer stock from one branch to another. When creating a Transfer Out transaction, you will be ask which Stock In transaction you wish to transfer stock from, and which Branch you wish to transfer the Stock to.
Adjustment
An Adjustment transaction allows you to adjust an existing Stock In transaction up or down depending on the scenario. When creating an Adjustment transaction, you will be ask which Stock In transaction you wish to adjust.
Return
A Return transaction allows you to reduce a Stock In transaction for the specific reason of returning stock to a Supplier. When creating a Return transaction, you will be ask which Stock In transaction you wish to adjust.
Write Off
A Write Off transaction allows you to reduce a Stock In transaction for the specific reason of writing stock levels off. When creating a write off transaction, you will be ask which Stock In transaction you wish to adjust.