Difference between revisions of "Stock Takes"
From Optisoft
| (2 intermediate revisions by the same user not shown) | |||
| Line 1: | Line 1: | ||
==Starting a Stock Take== | ==Starting a Stock Take== | ||
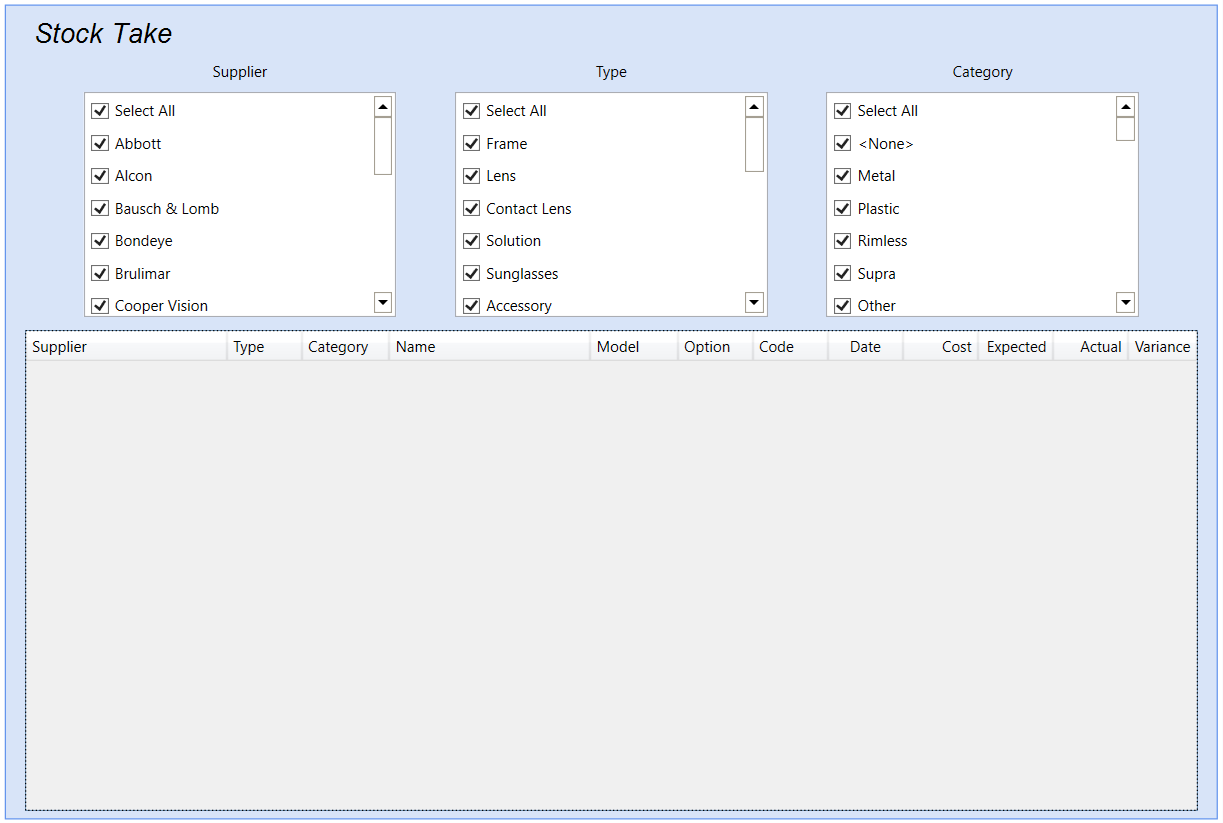
| + | In order to start a Stock Take you need to do the following: | ||
| + | |||
| + | <center>[[image:StockTake2022.png|border|700px|Stock Module]]</center> | ||
| + | |||
| + | *From the main Stock module, click on the Stock Take button in the ribbon. | ||
| + | *Next, click the Start button. | ||
| + | *You can now starting adding Stock to your Stock Take by either: | ||
| + | **Scanning the stock items barcode | ||
| + | **Using the Search feature in the ribbon | ||
| + | *Repeat the above as many times as necessary until you have registered all the items of you Stock Take. | ||
| + | *You can leave the Stock Take as many times are necessary. Upon returning to the Stock Take you will be able to continue where you left off. | ||
| + | *The Abort button can be used at any point during the Stock Take to cancel and start again, without effecting any of the stock levels. | ||
==Ending a Stock Take== | ==Ending a Stock Take== | ||
| + | Once you have registered all the products required on your stock take, you need to End the stock take in order to update the stock level values. | ||
| + | |||
| + | In order to End the stock take, do the following: | ||
| + | *Click on the End button in the ribbon. | ||
| + | *You will be asked the following question "Have you recorded all your products in this stock take?". Select from the following options: | ||
| + | **Yes - This will update the stock levels for all the products registered on the Stock Take. It will also reduce all products not registered on the stock take to zero. | ||
| + | **No - This will update the stock levels for all the products registered on the Stock Take and nothing else. All other product will be unaffected. | ||
| + | **Cancel - This will abort the End stock take request and will keep the Stock Take active. No stock levels will have been adjusted. | ||
| + | |||
[[Stock|Back]] | [[Stock|Back]] | ||
[[Optisoft.NET Help|Home]] | [[Optisoft.NET Help|Home]] | ||
Latest revision as of 14:54, 30 May 2022
Starting a Stock Take
In order to start a Stock Take you need to do the following:

- From the main Stock module, click on the Stock Take button in the ribbon.
- Next, click the Start button.
- You can now starting adding Stock to your Stock Take by either:
- Scanning the stock items barcode
- Using the Search feature in the ribbon
- Repeat the above as many times as necessary until you have registered all the items of you Stock Take.
- You can leave the Stock Take as many times are necessary. Upon returning to the Stock Take you will be able to continue where you left off.
- The Abort button can be used at any point during the Stock Take to cancel and start again, without effecting any of the stock levels.
Ending a Stock Take
Once you have registered all the products required on your stock take, you need to End the stock take in order to update the stock level values.
In order to End the stock take, do the following:
- Click on the End button in the ribbon.
- You will be asked the following question "Have you recorded all your products in this stock take?". Select from the following options:
- Yes - This will update the stock levels for all the products registered on the Stock Take. It will also reduce all products not registered on the stock take to zero.
- No - This will update the stock levels for all the products registered on the Stock Take and nothing else. All other product will be unaffected.
- Cancel - This will abort the End stock take request and will keep the Stock Take active. No stock levels will have been adjusted.