Difference between revisions of "Clinical Record Drawings"
From Optisoft
| (One intermediate revision by the same user not shown) | |||
| Line 6: | Line 6: | ||
You can either start from a blank canvas, or select one of the available templates from the drop down. | You can either start from a blank canvas, or select one of the available templates from the drop down. | ||
| + | |||
| + | <center>[[image:ClinicalDrawings2022.png|border|700px|Clinical Records Drawings]]</center> | ||
After your drawing is complete press Save and then Back to return to the Summary screen. Your Drawing will now be displayed in the Drawings tab at the bottom of the screen. | After your drawing is complete press Save and then Back to return to the Summary screen. Your Drawing will now be displayed in the Drawings tab at the bottom of the screen. | ||
| + | |||
[[Clinical Records|Back]] | [[Clinical Records|Back]] | ||
[[Optisoft.NET Help|Home]] | [[Optisoft.NET Help|Home]] | ||
Latest revision as of 12:43, 21 April 2022
It is possible to attach drawings to your Clinical Visits.
On the Pathway Summary screen either go to the Drawings tab at the bottom of the screen and click New, or click the Drawings button in the Toolbar.
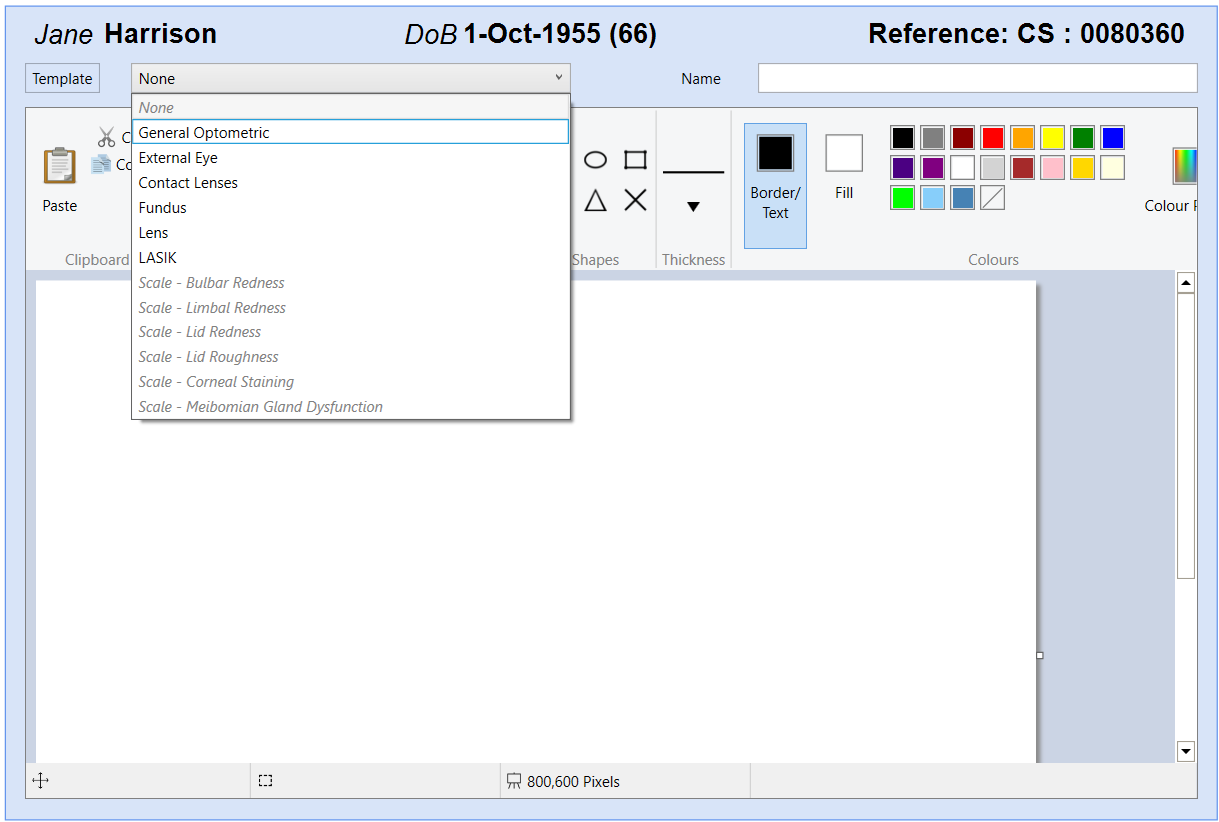
This will take you to the drawing console.
You can either start from a blank canvas, or select one of the available templates from the drop down.

After your drawing is complete press Save and then Back to return to the Summary screen. Your Drawing will now be displayed in the Drawings tab at the bottom of the screen.