Difference between revisions of "Maintaining the Appointments Module"
(→Templates) |
|||
| Line 106: | Line 106: | ||
==Diary Scheduling== | ==Diary Scheduling== | ||
| + | Diary Scheduling is where you can tell the Appointment module who is working where and when. It allows you to book Staff members into Diaries on specific days with or without the use of Templates. | ||
| + | |||
<center>[[image:AppointmentsDiariesScheduling.png|border|700px]]</center> | <center>[[image:AppointmentsDiariesScheduling.png|border|700px]]</center> | ||
| + | |||
| + | In order to configure Diary Scheduling, follow the below procedure: | ||
| + | *Click on the Appointments module | ||
| + | *Click the Maintenance tab in the ribbon and then the Diary Scheduling button. | ||
| + | *Select the necessary Branch, Diary and Staff Member. The available Templates should be filtered accordingly. | ||
| + | *Navigate to the correct month using the arrow buttons. This will update the calendar control, displaying all days of the selected month. | ||
| + | *You can now drag and drop any of the available templates onto any of the available days in the calendar control. Unavailable days will be coloured in a darker grey. | ||
| + | *A coloured bubble will appear on the day you have selected detailing the Template and the Staff members name. The colour will be of that set against the Staff member in Contact maintenance. | ||
| + | *If you do not wish to use Templates, you can do the above process using the <No Template> option. This will simply use the Staff members colour to shade the time slots in the main Appointment screen. | ||
| + | *Depending on what you are trying to do, you now may wish to use the right click menu to recur your selections over multiple days, saving you having to repeat the above process time and time again. To do this, simply right click on the bubble you wish to recur. Below is an explanation of each option under the right click menu: | ||
| + | **Copy Date Using Recurrence | ||
| + | |||
| + | |||
| + | |||
==Notifications== | ==Notifications== | ||
Revision as of 09:35, 13 November 2017
Contents
Diaries
Diaries form the base of the appointment module. You will get a column in the appointment module for each diary that is entered into Diary Maintenance. Diaries are originally designed to be rooms or areas, but can be used to resemble anything that requires appointments.
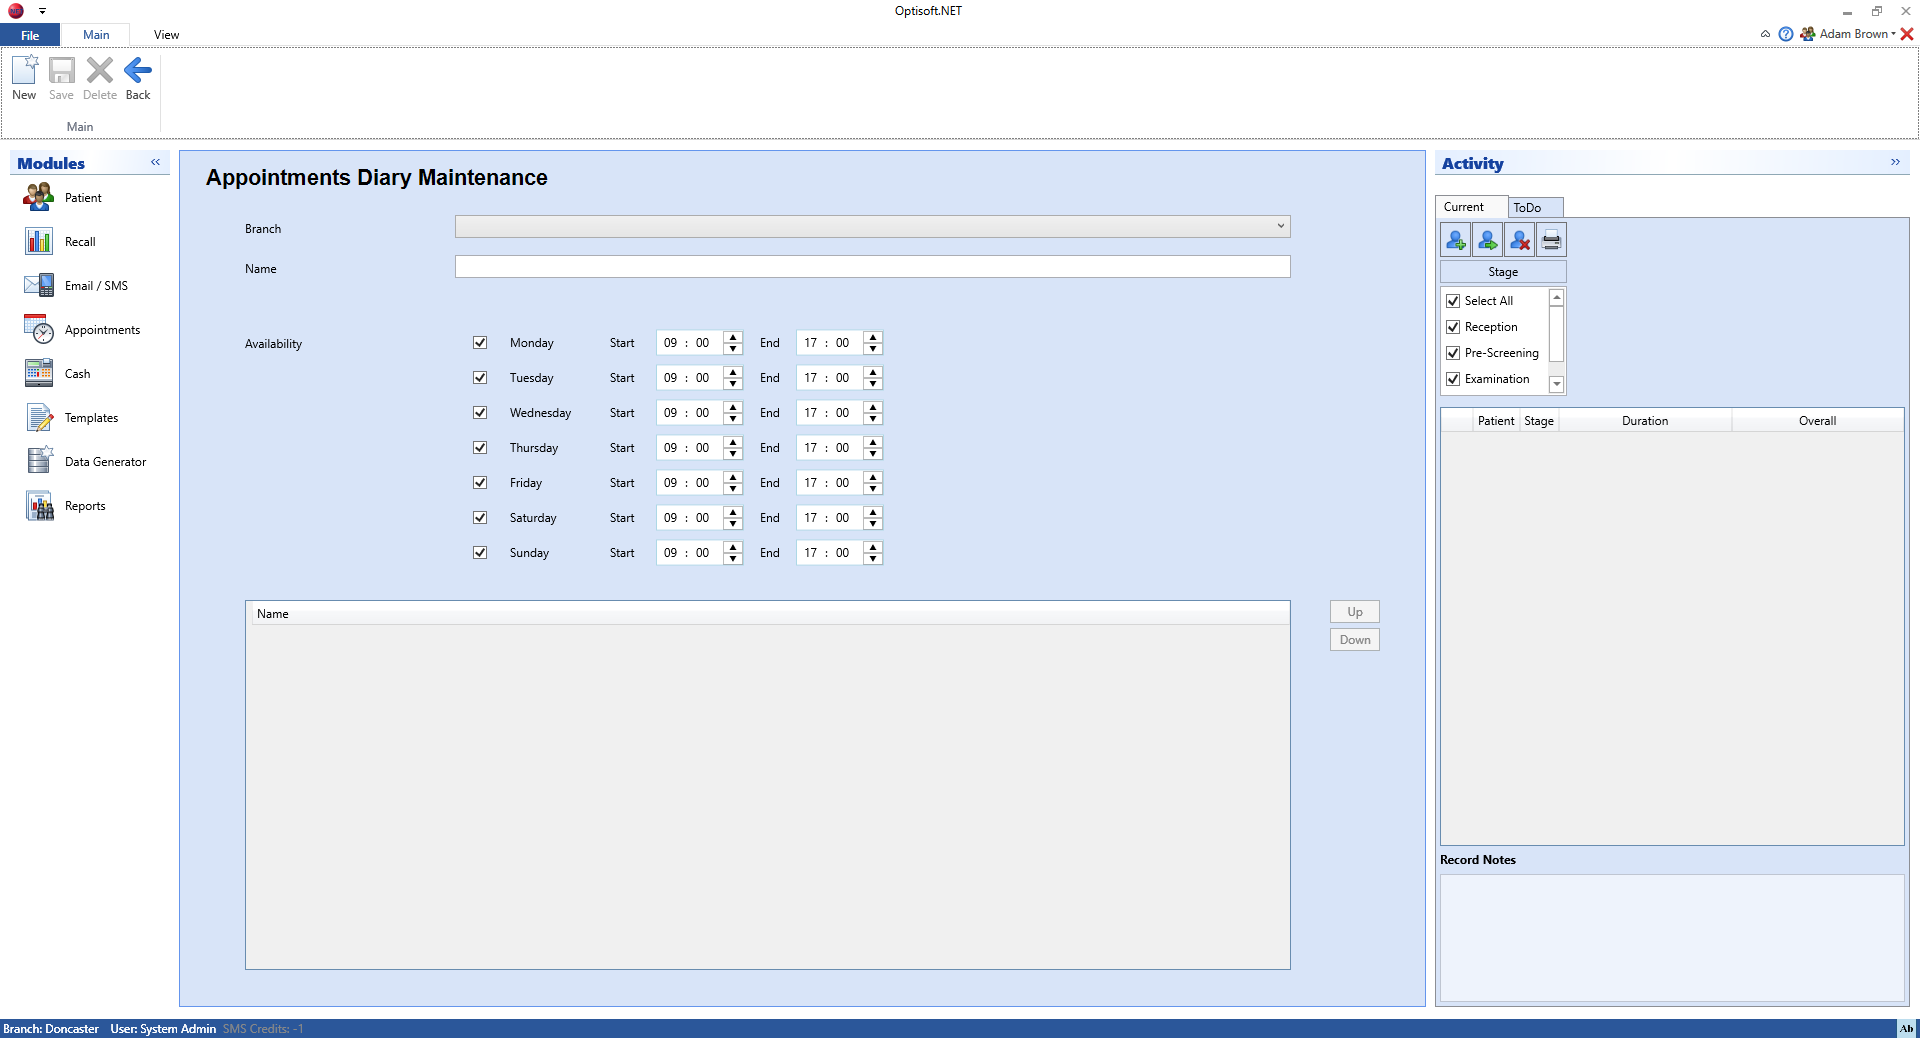
To enter a diary follow the below procedure:
- Click on the Appointments module
- Click the Maintenance tab in the ribbon and then the Diary button
- Select the necessary Branch and enter a Name for your Diary
- Take the tick out of the days that are not necessary for this Diary.
- Click Save and then Back, or use the Auto Save feature.
Types
Appointment Types allow you to quickly configure appointments and provide useful data for you appointment reports
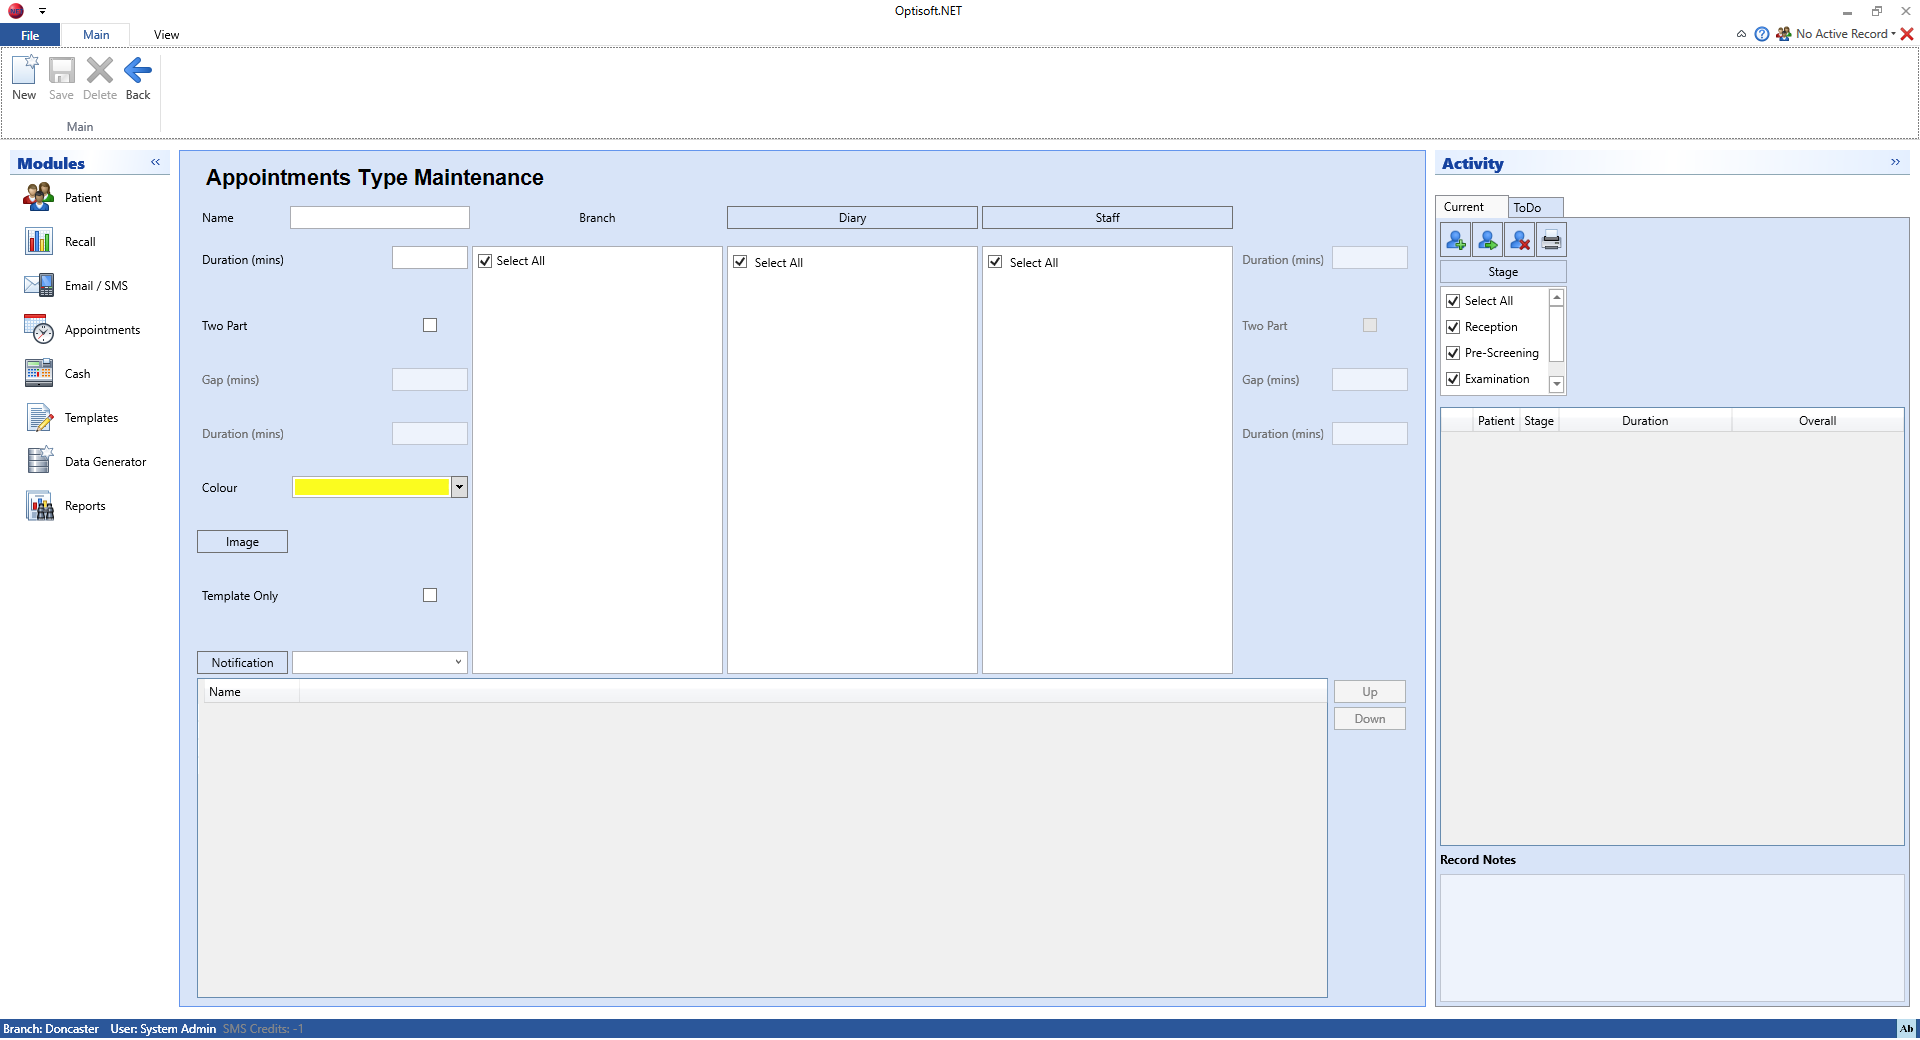
To enter an Appointment Type follow the below procedure:
- Click on the Appointments module
- Click the Maintenance tab in the ribbon and then the Type button.
- Enter a Name for your Appointment Type along with a Duration in minutes.
- If your Appointment Type is a 2 part appointment, tick the Two part tick box and provide a Gap and a Duration for the 2nd part in minutes.
- Now select a colour and an Image. Some Images will be provided, but you can make your own if required.
- Select all the required Branches, Diaries and Staff Members this Type is applicable for.
- Click Save and Back, or use the Auto Save feature.
Additional options on Appointment Types are described below:
Having Different Duration per Staff Member
It is possible to have different Durations for different Staff Members per Appointment Type. This saves you having duplicate Types. To change a Staff Members Duration for a particular Type do the following:
- Click on the Appointments module.
- Click the Maintenance tab in the ribbon and then the Type button.
- Click on the relevant Appointment Type from the grid at the bottom of the screen. This will load the Appointment Type into the form.
- Click on the Name of the Staff Member (Do not take the tick out of the tick box).
- Doing so will enable the text boxes to the right of the Staff list. You can now configure the Duration and 2 part details for this individual Staff Member.
- Click Save and Back, or use the Auto Save feature.
Appointment Notifications
Appointment Notifications allow you to contact your patients to let them know the details of their appointment, in a similar way to how the Recall system works. You can find how to Configuring Notifications below. To add a Notification to an Appointment Type do the following:
- Click on the Appointments module.
- Click the Maintenance tab in the ribbon and then the Type button.
- Click on the relevant Appointment Type from the grid at the bottom of the screen. This will load the Appointment Type into the form.
- Select the relevant option in the Notification drop down.
- Click Save and Back, or use the Auto Save feature.
Using Template Only
Appointment Types can be used to create templates to group together appointment slots. In order to do this you may want to use a generic appointment type to create the sequence of appointment slots, but not actually use this type to book an actual appointment.
The 'Template Only' tick box will allow you to do just this, by adding the Type to Template Maintenance, but removing it from the Appointment Booking screen.
Event Types
Event Types allow you to book what is effectively an appointment that isn't associated with a Patient Record. These can be used for Staff Meetings, for example, or used to block time out of a specific Diary.
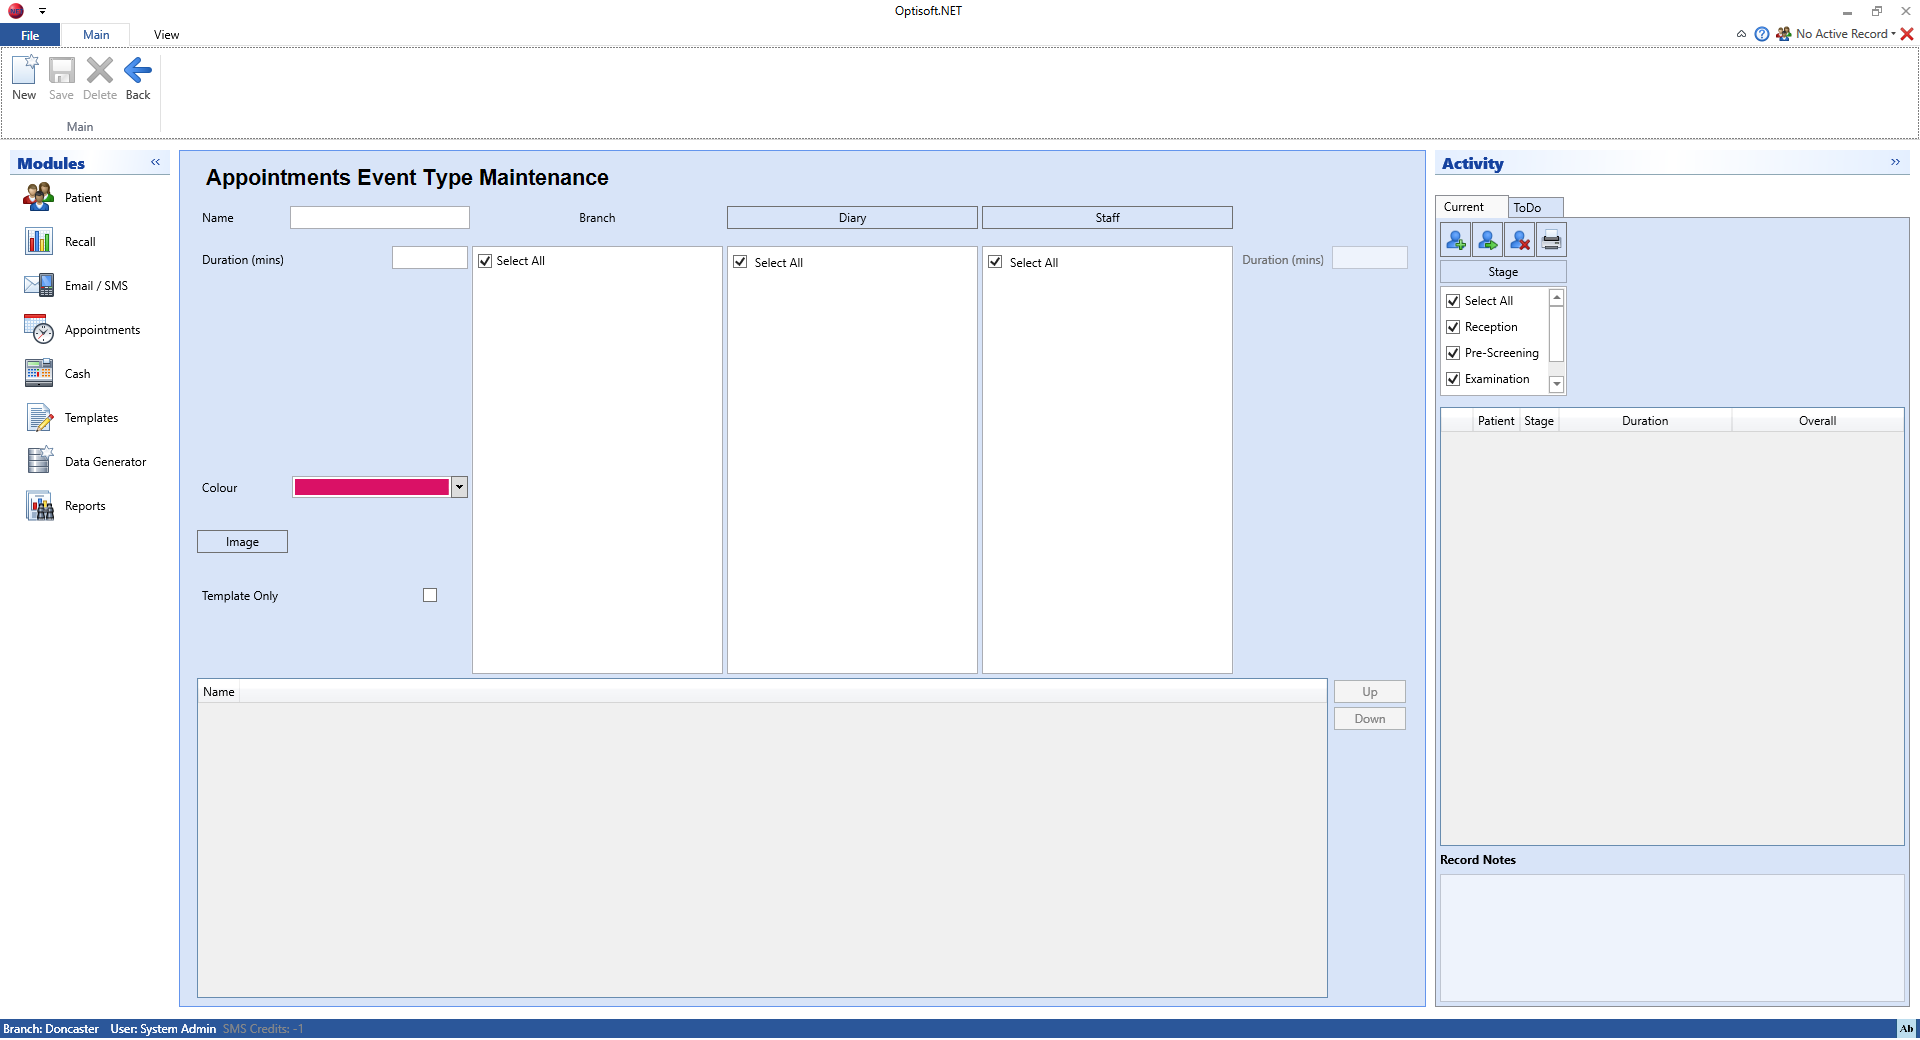
In order to create an Event Type follow the below procedure:
- Click on the Appointments module
- Click the Maintenance tab in the ribbon and then the Event Type button.
- Enter a Name for your Event Type along with a Duration in minutes.
- Now select a colour and an Image. Some Images will be provided, but you can make your own if required.
- Select all the required Branches, Diaries and Staff Members this Type is applicable for.
- Click Save and Back, or use the Auto Save feature.
Additional options on Event Types are described below:
Having Different Duration per Staff Member
It is possible to have different Durations for different Staff Members per Event Type. This saves you having duplicate Types. To change a Staff Members Duration for a particular Type do the following:
- Click on the Appointments module.
- Click the Maintenance tab in the ribbon and then the Event Type button.
- Click on the relevant Event Type from the grid at the bottom of the screen. This will load the Event Type into the form.
- Click on the Name of the Staff Member (Do not take the tick out of the tick box).
- Doing so will enable the text box to the right of the Staff list. You can now configure the Duration for this individual Staff Member.
- Click Save and Back, or use the Auto Save feature.
Using Template Only
Event Types, like Appointment Types, can be used to create templates to group together appointment slots. In order to do this you may want to use a generic Event Type to create the sequence of appointment slots, but not actually use this type to book an actual Event.
The 'Template Only' tick box will allow you to do just this, by adding the Type to Template Maintenance, but removing it from the Event Booking screen.
Templates
Appointment Templates allow you to create a sequence of Appointment and Event Types that effectively group together appointment time slots in the main Appointment screen. This is very useful if you have an inconsistent sequence of appointment durations, or if you require to reserve appointment slots for specific appointment types i.e. the 4:00 PM appointment needs to be a Child Sight Test.
You can have as many different Templates as required, and you can tailor them to different Staff Members to help manage your appointment scheduling.
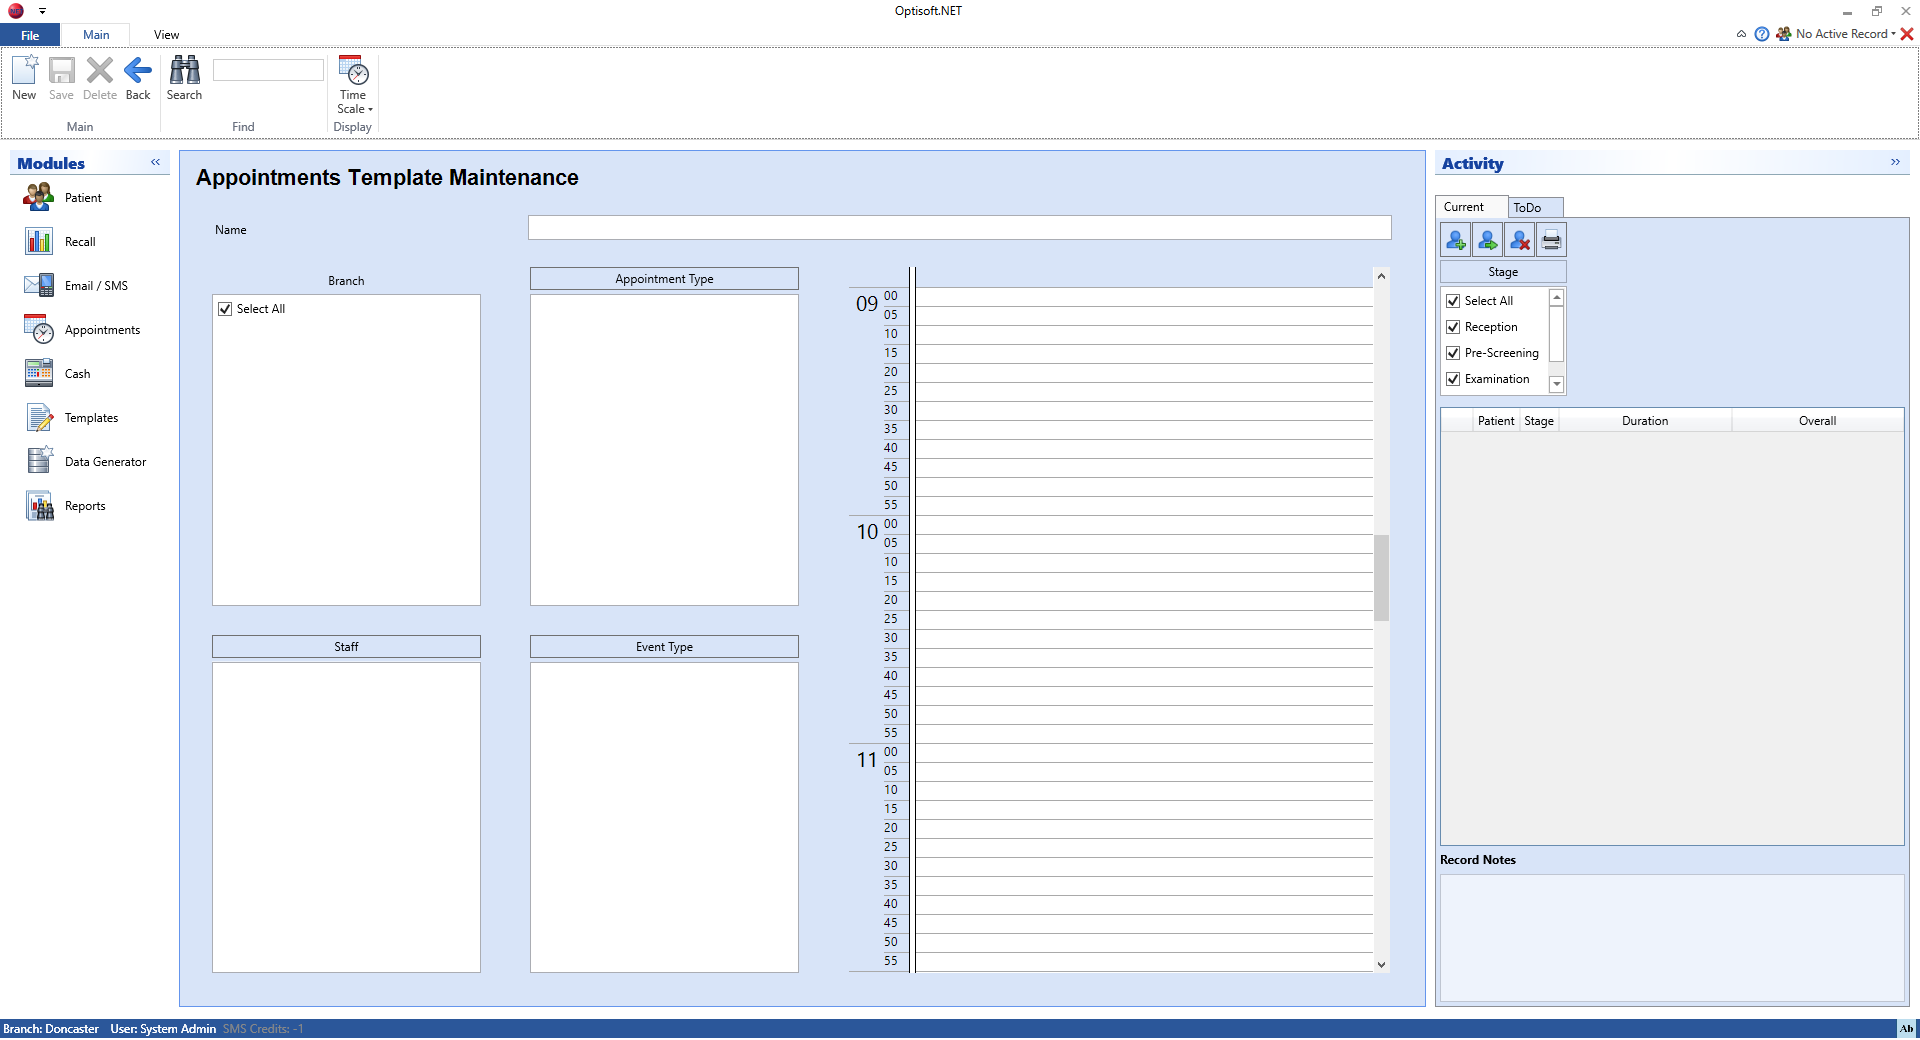
In order to create an Appointment Template follow the below procedure:
- Click on the Appointments module
- Click the Maintenance tab in the ribbon and then the Template button.
- Give your Template a Name.
- Tick the Branches and Staff members that this Template is relevant too. The Appointment and Event Types will filter accordingly.
- You can then either drag an Appointment or Event Type onto the time column, or select a time slot in the time column and double click on the necessary Type. This will then automatically highlight the next available time slot, so you can double click on the next Type and repeat.
- Click Save and Back or use the Auto Save feature.
Diary Scheduling
Diary Scheduling is where you can tell the Appointment module who is working where and when. It allows you to book Staff members into Diaries on specific days with or without the use of Templates.
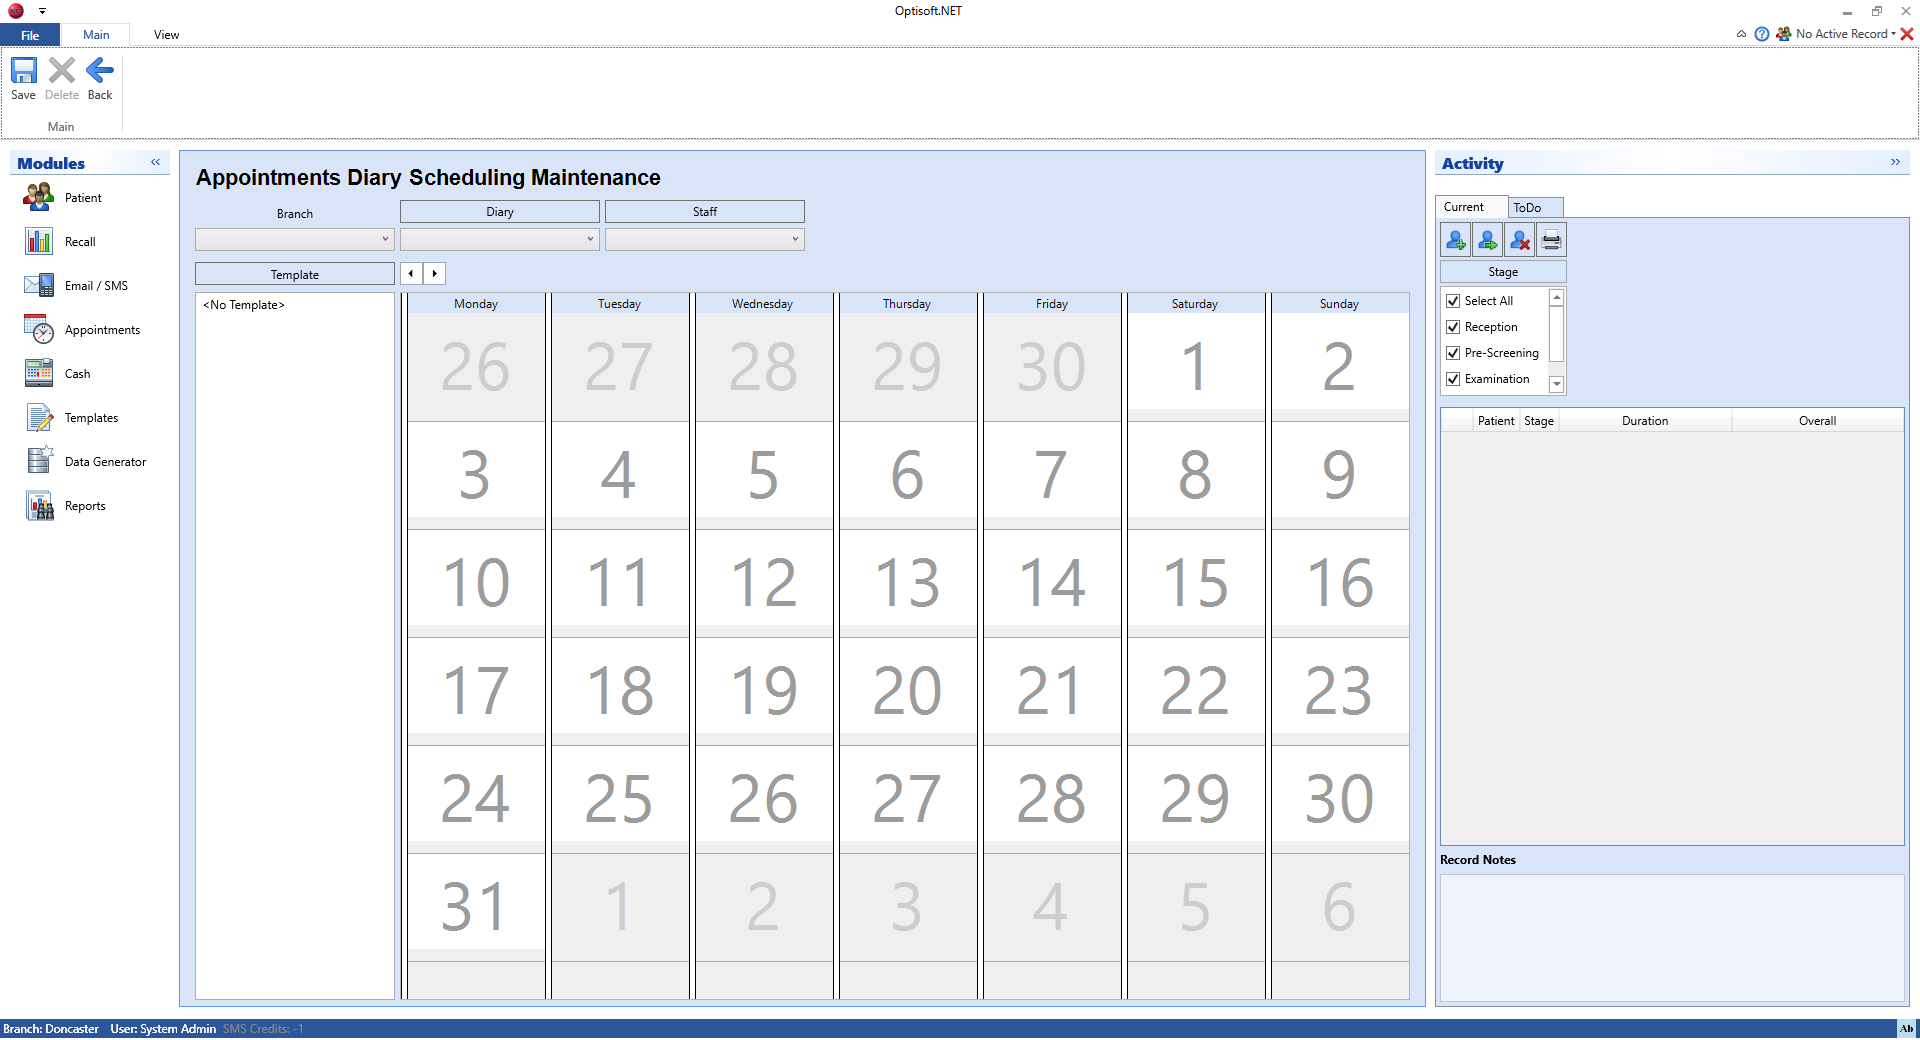
In order to configure Diary Scheduling, follow the below procedure:
- Click on the Appointments module
- Click the Maintenance tab in the ribbon and then the Diary Scheduling button.
- Select the necessary Branch, Diary and Staff Member. The available Templates should be filtered accordingly.
- Navigate to the correct month using the arrow buttons. This will update the calendar control, displaying all days of the selected month.
- You can now drag and drop any of the available templates onto any of the available days in the calendar control. Unavailable days will be coloured in a darker grey.
- A coloured bubble will appear on the day you have selected detailing the Template and the Staff members name. The colour will be of that set against the Staff member in Contact maintenance.
- If you do not wish to use Templates, you can do the above process using the <No Template> option. This will simply use the Staff members colour to shade the time slots in the main Appointment screen.
- Depending on what you are trying to do, you now may wish to use the right click menu to recur your selections over multiple days, saving you having to repeat the above process time and time again. To do this, simply right click on the bubble you wish to recur. Below is an explanation of each option under the right click menu:
- Copy Date Using Recurrence
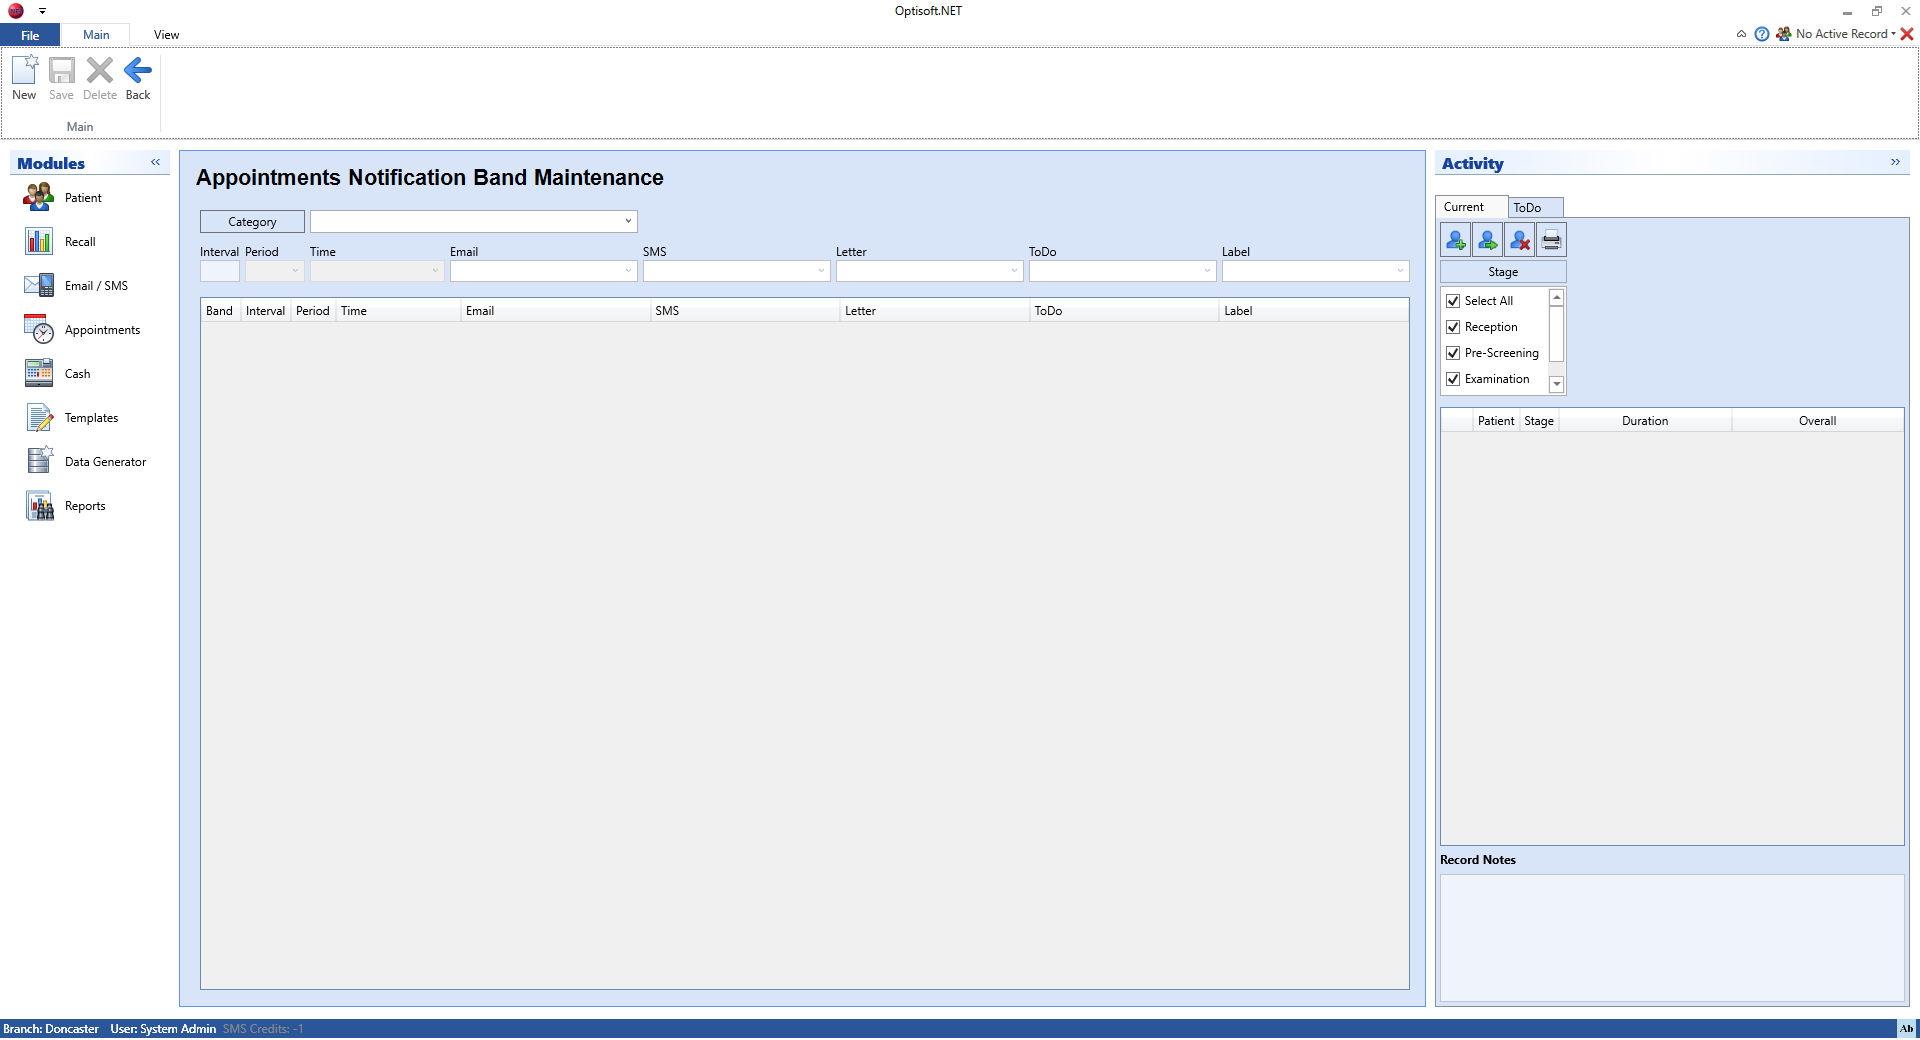
Notifications
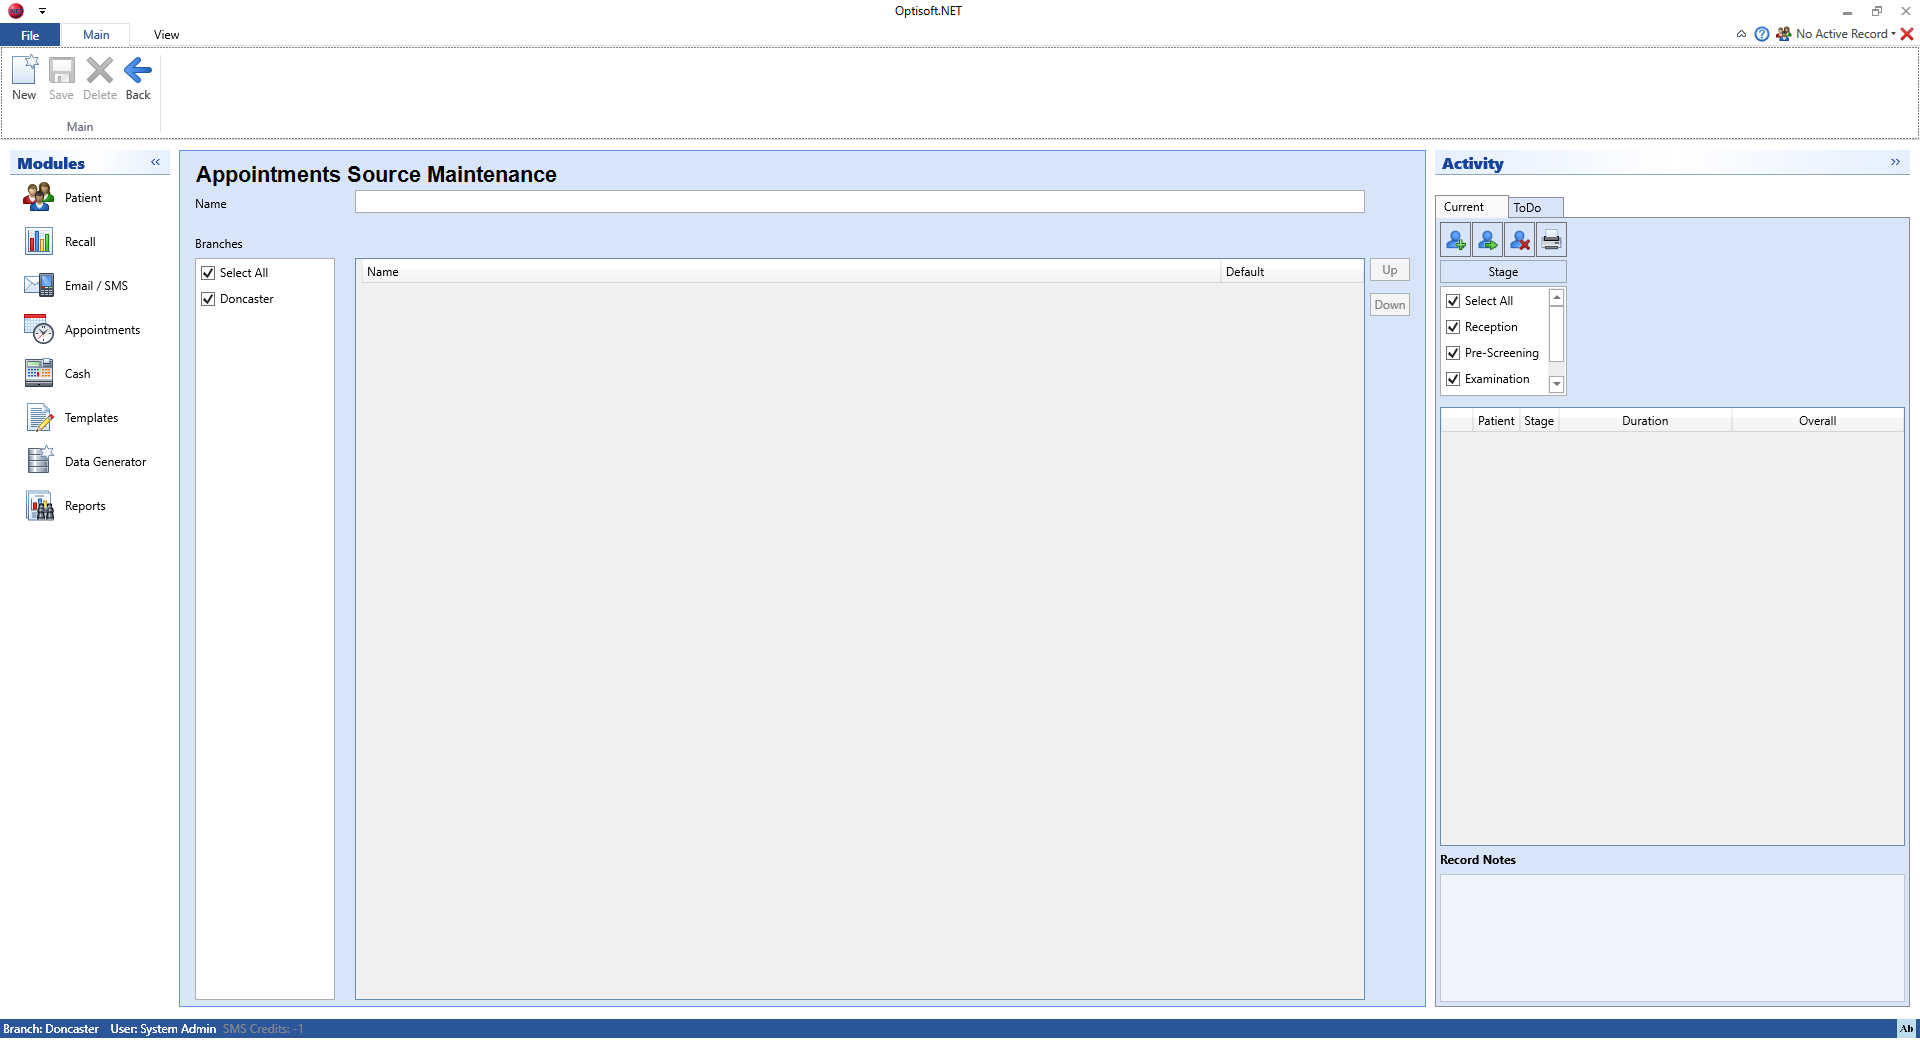
Sources
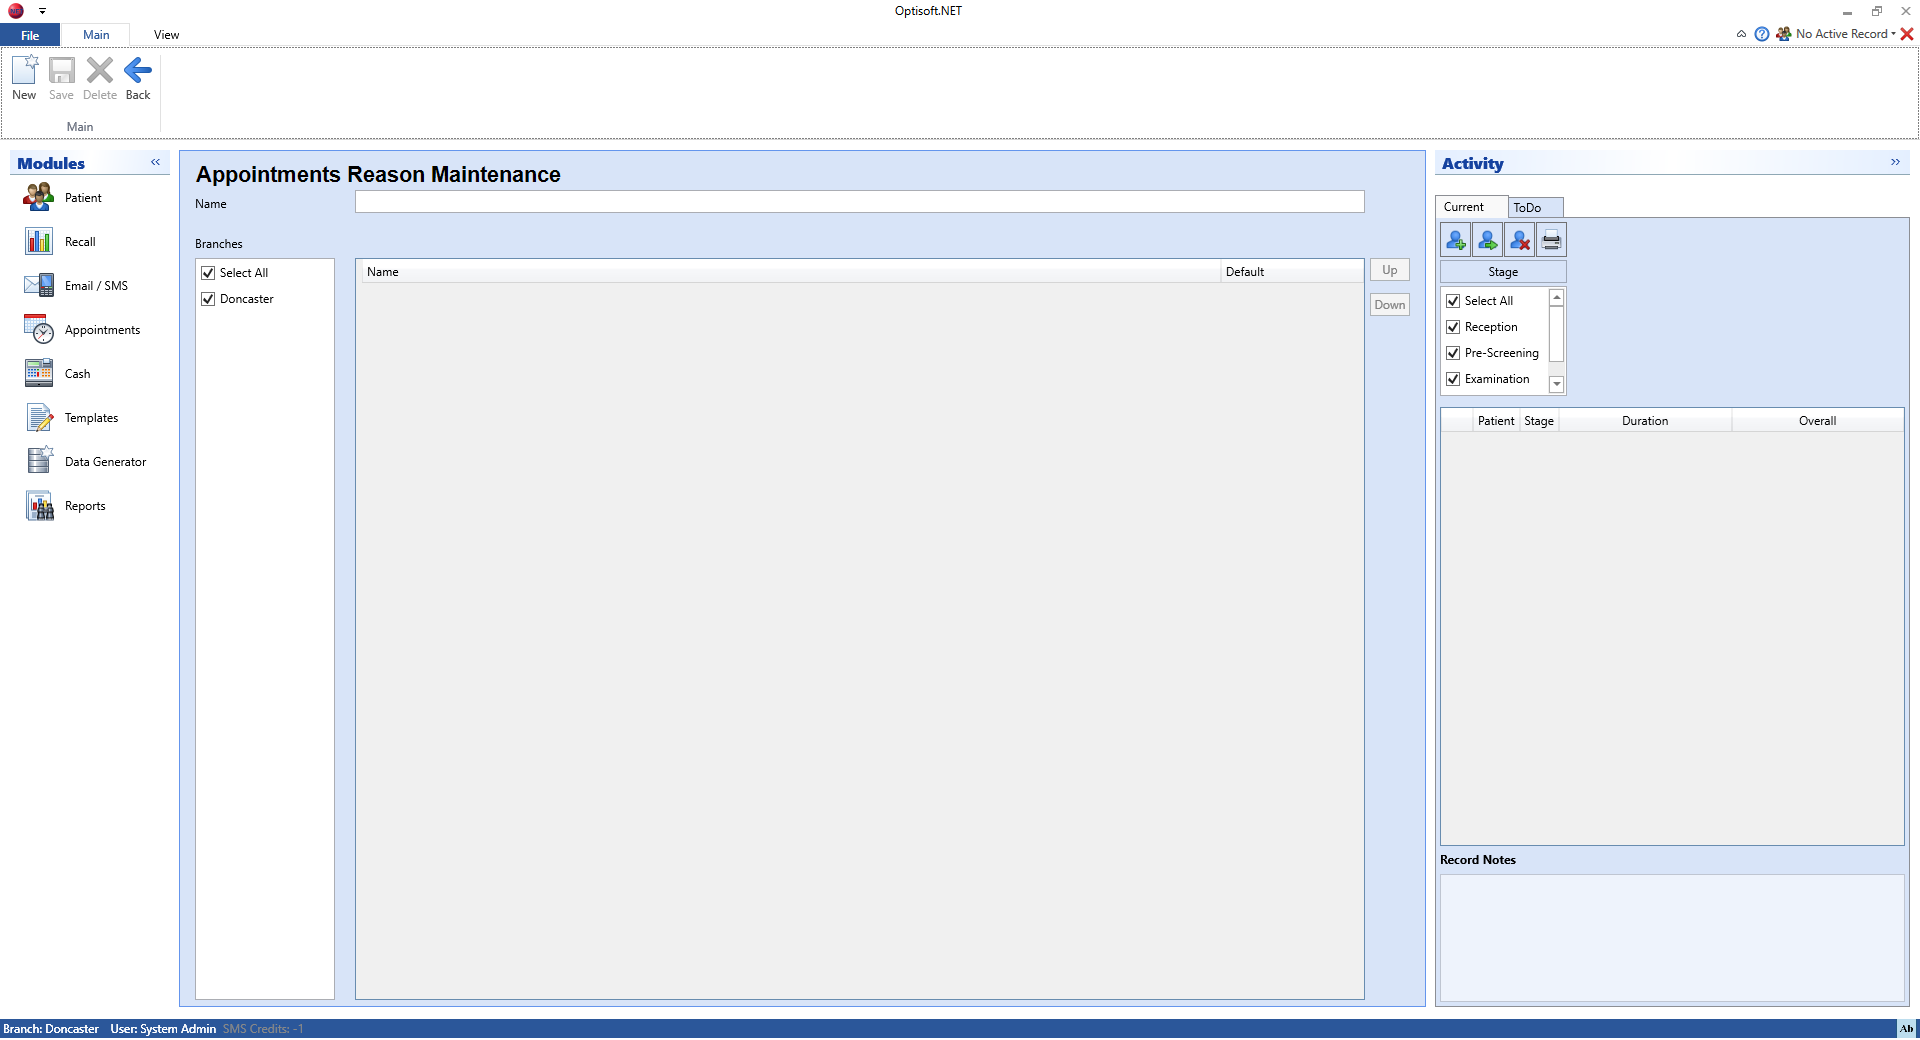
Reasons
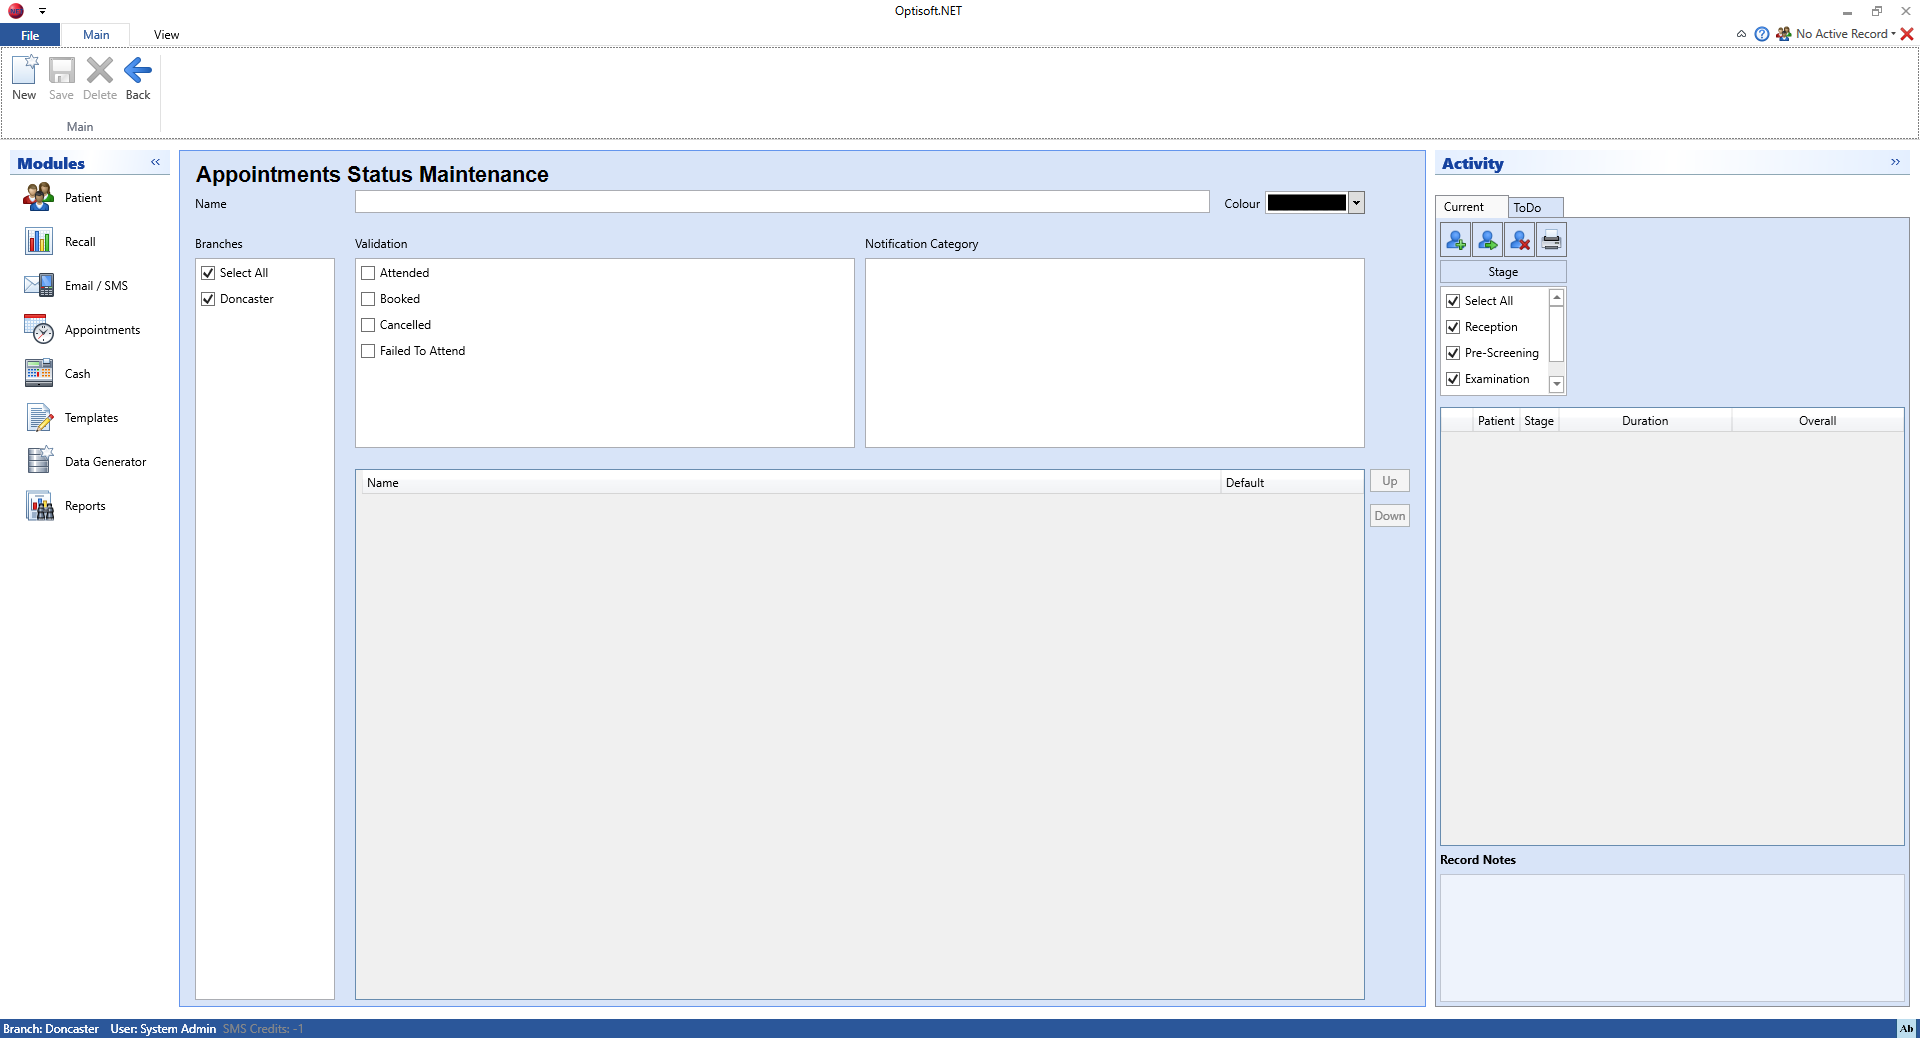
Status
Outcomes
