Difference between revisions of "Creating a Receipt Template"
From Optisoft
| Line 1: | Line 1: | ||
| + | Once you have selected your Merge Fields in the Template Maintenance screen, click Template Editor and you will be taken to the Receipt Template Editor. | ||
| + | <center>[[image:SMSTemplateMaintenance.png|border|700px|SMS Template Maintenance]]</center> | ||
| + | |||
| + | =Creating a Template= | ||
| + | In order to create a Receipt Template follow the below procedure: | ||
| + | *Give your Template a Name. | ||
| + | *You can now design your Template as necessary. | ||
| + | *Click Save and Back, or use the Auto Save feature. | ||
| + | |||
| + | =Editor Options= | ||
| + | The Receipt Editor has some useful features as described below: | ||
| + | *Main Tab | ||
| + | **Merge Codes - Drop down button that lists all the Merge Fields selected in the Template Maintenance screen. The user should position the caret in the Template first before selecting a Merge Code. | ||
| + | **Preview - Will merge any Merge Codes currently in the Template so the user can see an example of what their Template will look like when printed out. | ||
[[Templates|Back]] | [[Templates|Back]] | ||
[[Optisoft.NET Help|Home]] | [[Optisoft.NET Help|Home]] | ||
Revision as of 07:47, 16 May 2019
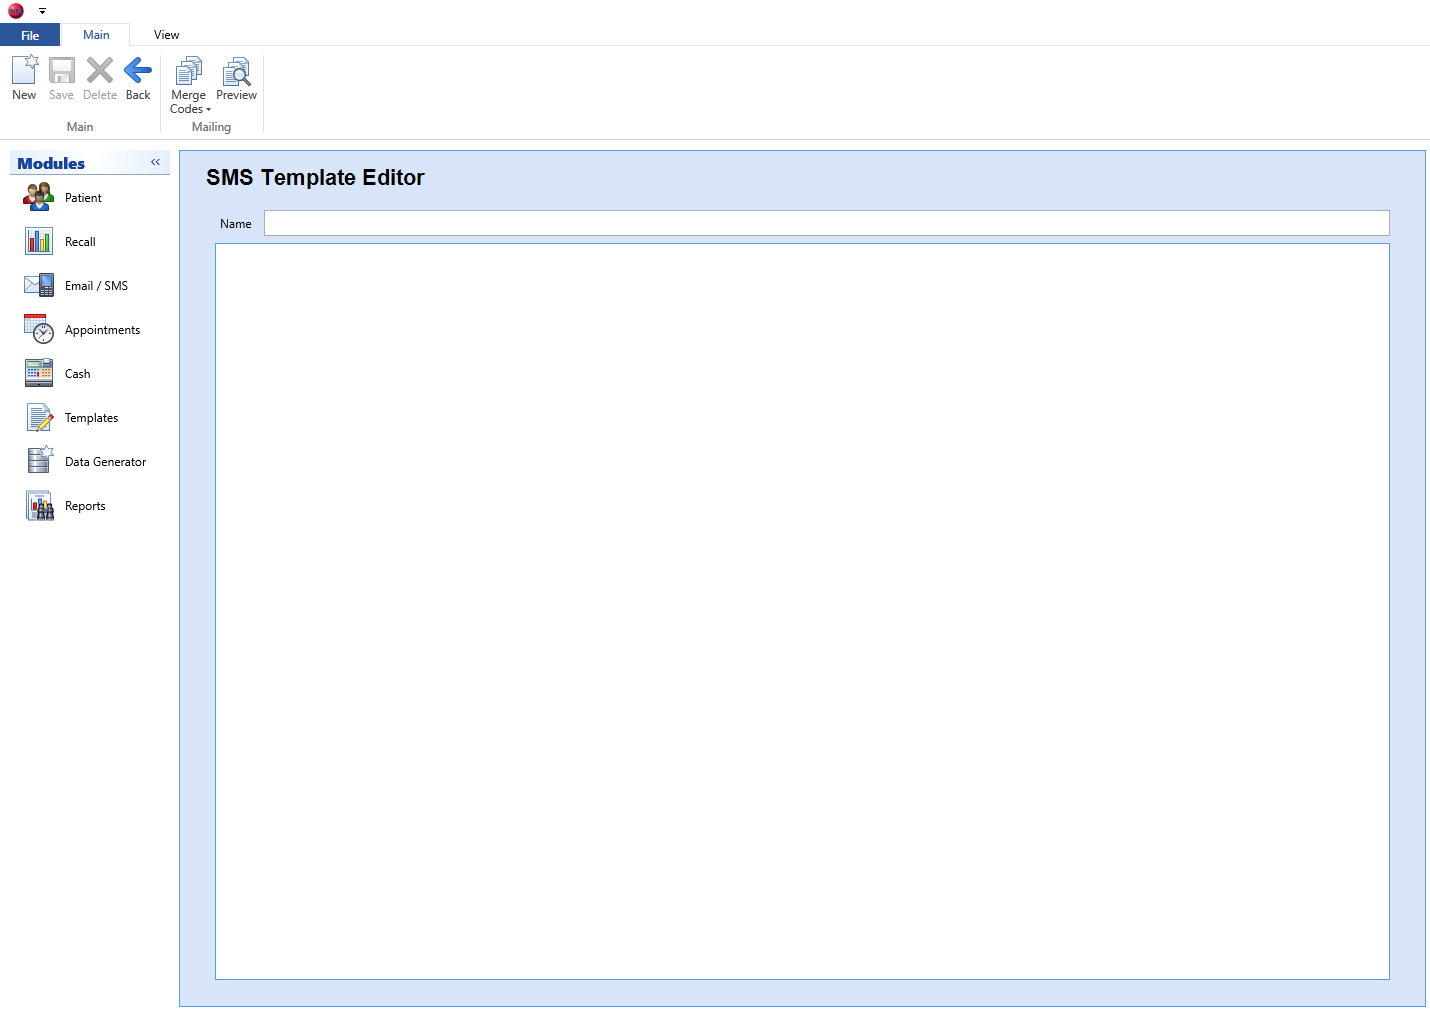
Once you have selected your Merge Fields in the Template Maintenance screen, click Template Editor and you will be taken to the Receipt Template Editor.

Creating a Template
In order to create a Receipt Template follow the below procedure:
- Give your Template a Name.
- You can now design your Template as necessary.
- Click Save and Back, or use the Auto Save feature.
Editor Options
The Receipt Editor has some useful features as described below:
- Main Tab
- Merge Codes - Drop down button that lists all the Merge Fields selected in the Template Maintenance screen. The user should position the caret in the Template first before selecting a Merge Code.
- Preview - Will merge any Merge Codes currently in the Template so the user can see an example of what their Template will look like when printed out.