Saving Documents
From Optisoft
Scanning Documents
In order to Scan a Document to a Record, follow the below instruction.

- You will first need to find a patient record.
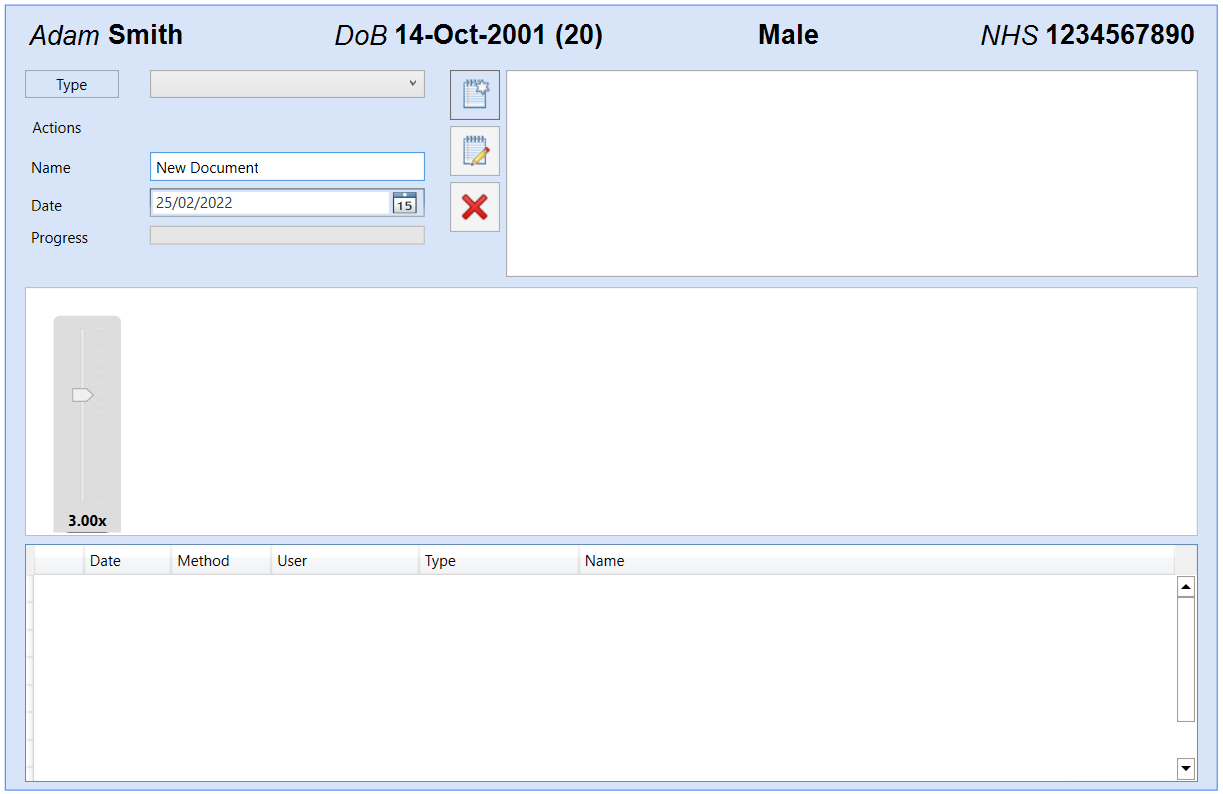
- Select Add New Document from the Document tab located at the bottom of the Record screen.
- You will now be able to select the Type of the Document.
- Click on Scan and then choose One for a single scan or Multiple for numerous scans.
- This should then launch your scanners software. Scan the document.
- You will now see a preview of the document you have just scanned.
- Optisoft.Net will automatically generate a name for your scanned document, which you can change if necessary. You can also update the Date at this stage.
- You can now choose to make Notes against the Scan by clicking the Add New Note button.
- Click on Save and then Back when you have finished, or use the Auto Save feature.
Importing Documents
In order to Import a Document to a Record, follow the below instruction.
- You will first need to find a patient record.
- Select Add New Document from the Document tab located at the bottom of the Record screen.
- You will now be able to select the Type of the Document.
- Click on Import.
- Navigate to the location of the Saved Document you wish to Import, select and then click Open.
- You will now see a preview of the document you have just selected.
- Optisoft.Net will automatically generate a name for your imported document, which you can change if necessary. You can also update the Date at this stage.
- You can now choose to make Notes against the Document by clicking the Add New Note button.
- Click on Save and then Back when you have finished, or use the Auto Save feature.