Difference between revisions of "Processing Patient Recalls"
From Optisoft
| Line 1: | Line 1: | ||
| + | |||
| + | ==Processing a Recall Run== | ||
In order to process Patient Recalls, follow the below instruction. | In order to process Patient Recalls, follow the below instruction. | ||
| Line 21: | Line 23: | ||
*When ready click on the Process button in the toolbar, and your recall run will commence | *When ready click on the Process button in the toolbar, and your recall run will commence | ||
*When your recalls have finished processing, you will be returned to the Graph tab. You will notice that the graph will have updated values, ready for your next recall run | *When your recalls have finished processing, you will be returned to the Graph tab. You will notice that the graph will have updated values, ready for your next recall run | ||
| + | |||
| + | ==Additional Features== | ||
| + | ===Custom Period=== | ||
| + | As mentioned the Recall module will always try and keep you up to date. However, there may be some situations where you don't require to be up to date, or need to process future recalls. In either of there cases, on the Run tab there is a Custom Period tick box. Ticking this box will display a Date Picker which allows you to define when the Recall should be calculated up to. | ||
| + | |||
| + | Changing the date will automatically repopulate the totals in the Run column, taking into account all the filtering options you selected previously on the graph tab. You can then proceed with you recall run as normal. | ||
| + | |||
[[Recall|Back]] | [[Recall|Back]] | ||
[[Optisoft.NET Help|Home]] | [[Optisoft.NET Help|Home]] | ||
Revision as of 11:25, 28 February 2017
Processing a Recall Run
In order to process Patient Recalls, follow the below instruction.

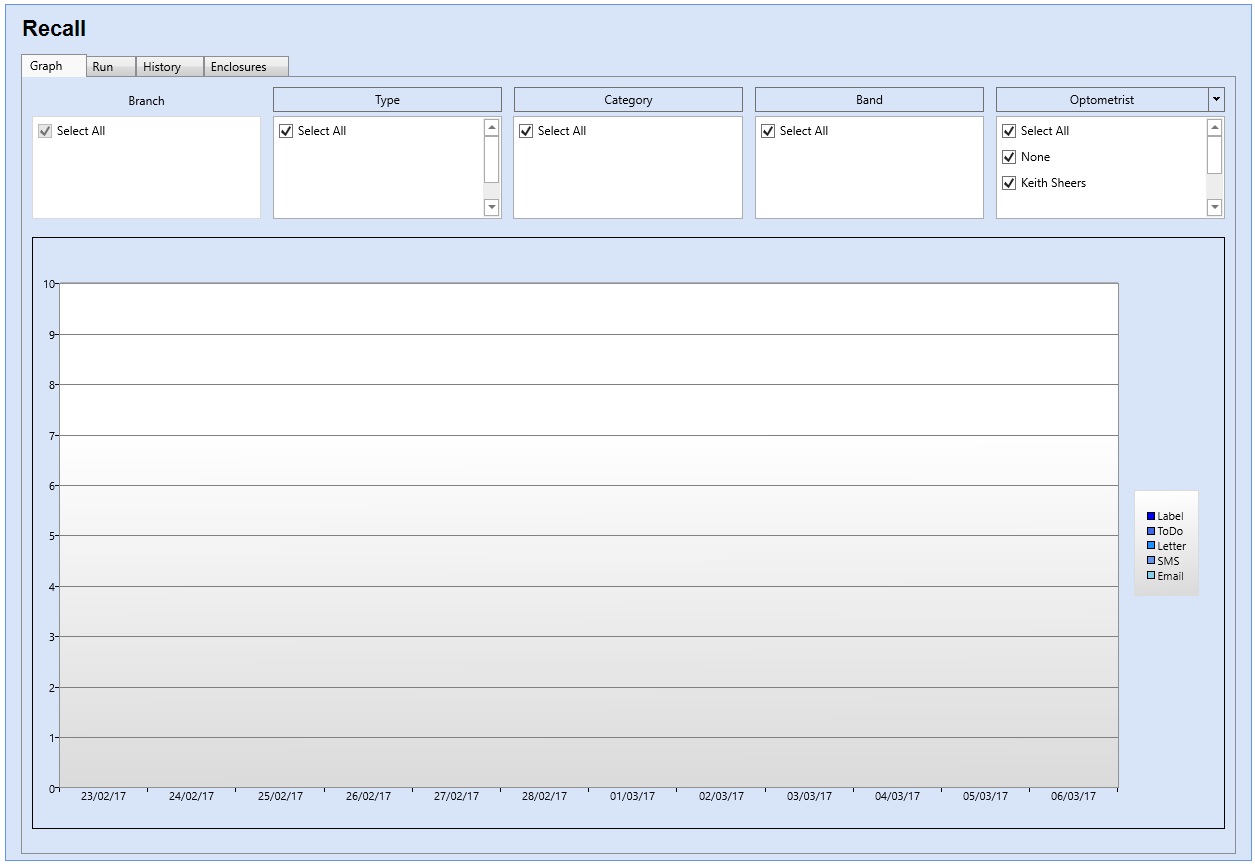
<<populated Recall graph image>>
- First click on the Recall module
- You will be presented with the Graph tab which will display the next 12 time periods, starting from the first outstanding Patient Recall onward.
- By default the Recall module will try and process all outstanding recalls up to the present date, unless the present date is not displayed in the graph. In this case the Recall Module will try and process the first 12 periods shown
- You can change what periods are shown by selecting the desired option (Daily, Weekly or Monthly) in the Date section of the toolbar
- You can also filter by Method, Branch, Recall Type, Recall Category, Recall Band and Staff Member as necessary
- When ready click on the Run tab
<<Run tab image>>
- On the Run tab you will notice that the Totals column will be populated with the values that you had from the Graph tab
- Per Method you can now decide how many of each you wish to process, by typing the desired number into the Run column
- As you type, you will notice the data grid will start to display the patient records that are relevant to the recalls that you are about to process
- Highlighting one of these records will display useful information about that patient, such as address, contact details and recall dates
- If required you can remove a patient from this recall run by taking the tick out of the tick box in the process column
- When ready click on the Process button in the toolbar, and your recall run will commence
- When your recalls have finished processing, you will be returned to the Graph tab. You will notice that the graph will have updated values, ready for your next recall run
Additional Features
Custom Period
As mentioned the Recall module will always try and keep you up to date. However, there may be some situations where you don't require to be up to date, or need to process future recalls. In either of there cases, on the Run tab there is a Custom Period tick box. Ticking this box will display a Date Picker which allows you to define when the Recall should be calculated up to.
Changing the date will automatically repopulate the totals in the Run column, taking into account all the filtering options you selected previously on the graph tab. You can then proceed with you recall run as normal.